Adding Fitment
Fitment is important, since your site is most likely an auto-parts site. If you’re using ASAP then the fitment will be auto-loaded for you, but not all manufacturers will give you the fitment. Here we go over how to add the fitment yourself.
1. There are two ways to get to the fitment settings for an item. You can go through the front-end while you’re viewing the product:
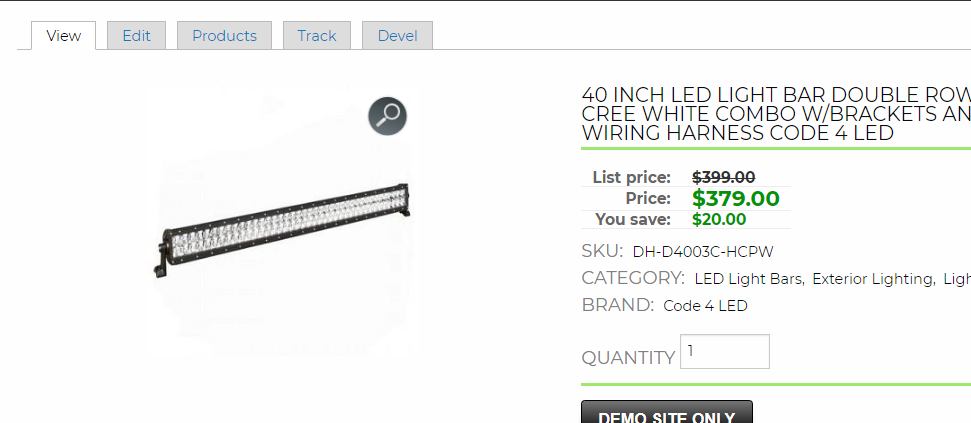
Choose “Products” from the grey tab options, then click edit to the right for any one of the options, if there are multiple.

From here you can skip to step 3a. Step 2 is the second way to get to the products settings.
2. The best way to get to your fitment, in your top admin menu go to “Store” -> “Products” -> “All product variations” (if you have multiple products, in the hundreds, that you need to import the fitment for, skip to step 8). The following page might have multiple tabs to the top right, such as Description Image View, Display Manager, Fitment View, All Product Variations, etc. These are all different, custom sorted displays of products. Some sites already have them premade, but if you do not and you would like us to add any for you, simply let us know. The screen will look something like this:
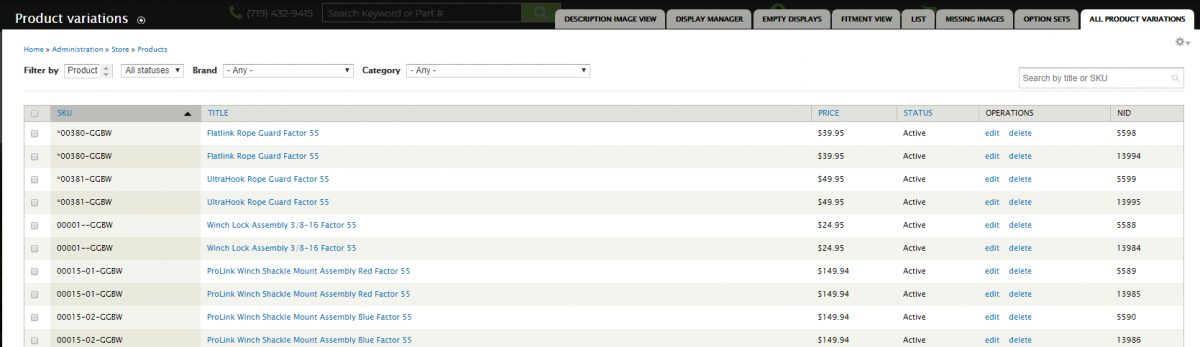
3. At this point, find the product you would like to add the fitment for, and to the right, select “Edit".
a. This is also where you can edit the product itself. For example, if you want to edit the image order, you can drag those around.
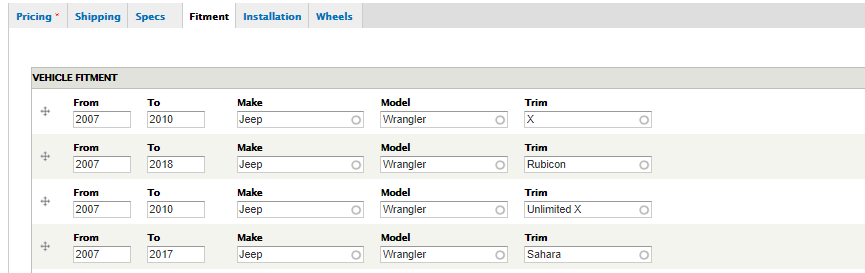
b. For the fitment, scroll down until you see an area with tabs for Pricing, Shipping, Fitment, Specs, etc. Click on Fitment, and it will look like this:
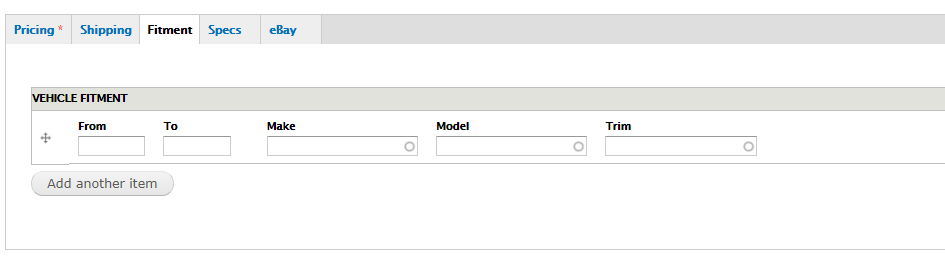
4. For the from and to fields, it will take these fields literally, so remember to enter the full 4-digit year in these fields. If you enter 98-2017, the system will literally take it from the year 98 to the year 2017. For that example, make sure you enter 1998 and 2017. Make sure there are no space before or after, or any other invalid characters.
5. The make, model, and trim fields, they are autofill. If you begin to type dodge, it will auto-populate dodge for you, so you can go ahead and click on it.
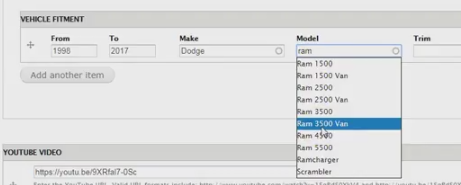
Just to be safe, always click on the auto-populated fields, once they match up to you are already typing. If you make a typo, or add a random space somewhere, the system will take what you typed as a new entry, and a search link will pop up for what you entered in that field. If there’s isn’t already an existing entry for what you are entering, feel free to type it in and leave it there. But remember that the users will see what you typed, and it will appear as a search filter. Always capitalize the first letter, no invalid characters or random spaces, and lowercase for the rest of the word.
a. Trim is the sub model. For example, if the item only fits Rubicon. It isn’t a necessary field, but it will narrow down search results if you can add it in there.
6. If you would like to add more that one vehicle for the fitment on that item, simply click “Add another item” until all your specs are added. Once all the required specs are added, it will look something like this:
7. When you’re finished adding the fitment, scroll to the bottom, and click “Save product”, or else your recent entry’s will be wiped out.
8. From this step on, is how to import fitments from a spreadsheet. Make sure in the spreadsheet, there is a SKU column, and fitment is in the proceeding columns. If all the fitment details are in one column, make sure the details are in this order and comma separated and ending with a comma: “<beginning year>,<ending year>,<Make>,<Model>,<Trim if there>,”. If there are multiple makes and models for the same item, make sure they are separated with the pipe symbol. For example: “<beginning year>,<ending year>,<Make1>,<Model1>,<Trim1 if given>,|<beginning year>,<ending year>,<Make2>,<Model2>,<Trim2 if there>,” Here is an image of what it should look like:
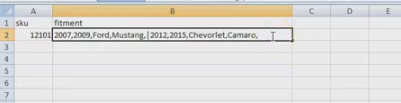
a. If the sheet was given to you in a different format. First, make sure the columns are in the order of SKU, beginning year, ending year, make, model, trim. Then you can concatenate them to the desired format.
There is more on the topic of importing these sheets in another tutorial.