Adding a New Part Type Category
As your inventory grows larger or if you happen upon a new item that needs to be sorted into a not yet existing category, you can add that category to your Drupal site through a few steps.
1. Firstly, you’ll want to make sure that the categories in your data sheet are in order. You might notice that they appear to be sorted by category and subcategory, but you have to remember that the formatting you see and what your site will read in are two different things. If you see something like this for example:
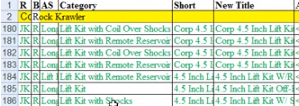
Your category tree after import will be messy. You will need to go through and separate each of those categories into the right format. “Lift Kit with Shocks” may look like it will go directly under the parent Lift Kit category, but if your site does not see the pipe seperator (or a comma, or greater than sign depending on what’s currently being used) then it will create a new tree for the subcategory and your categories will get blown up. So “Lift Kit with Shocks” will need to be changed to “Lift Kits|Lift Kit with Shocks” (or whichever your current lift kits taxonomy path is).
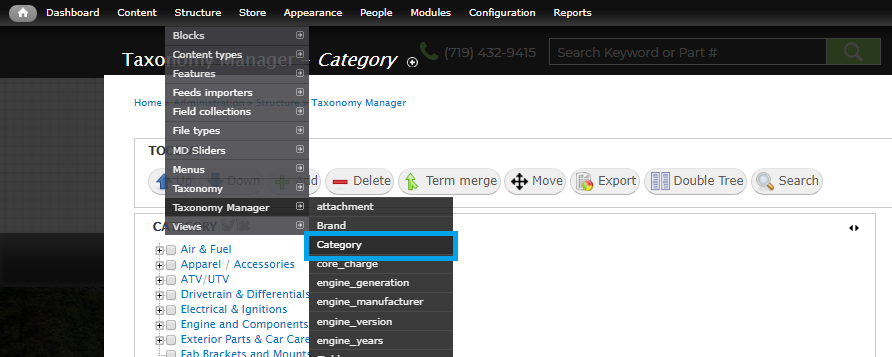
2. If you manually want to add a part type through Drupal, you’ll need to get to the Taxonomy Manager page. In your Admin menu, go through “Structure” -> “Taxonomy Manager” -> “Category”.
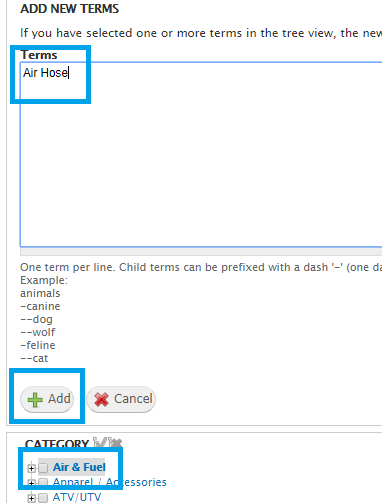
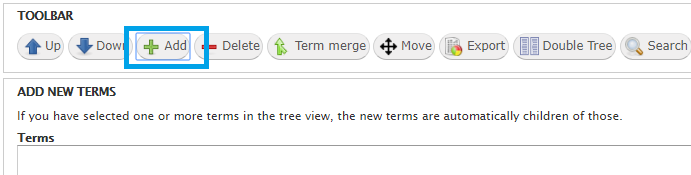
3. On the next page, in the toolbar, you’ll want to click on “+ Add”.
4. If you glance under the textarea, you’ll see a quick set of instructions on how to add the taxonomy. It shows you how to add a term into the taxonomy. If you’re adding a new overall parent term, do not select any of the existing terms below, simply Type in your new term and click add under the text area.
5. If you are adding a new child term to an existing one, you have to select that term from the list below, then type your new term and click on “+ Add” underneath the text area.