Creating Articles and Basic Pages
While articles and basic pages are added in the same way, articles have a few more fields. Here we go over how to add each of those, and how to take advantage of the different features available in the body of your new page.
1. Articles and basic pages are added pretty much the same way. The major difference between the two is their use. Articles have more fields based on if you’re adding videos, images, tags, etc. regularily to your articles. Basic pages are pretty limited to simply the text body of the page and the title. Basic pages are normally used for static content like your “About Us”, “Return Policy”, or Privacy Agreement” types of pages.
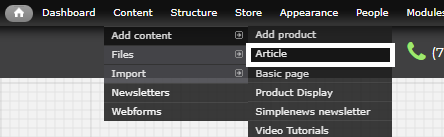
2. To add one of these two content types, in your admin menu go to “Content” -> “Add content” -> [select either article or basic page].
3. For example purposes, since basic pages only have a title and text field, we will use an article in this tutorial since it has more fields.
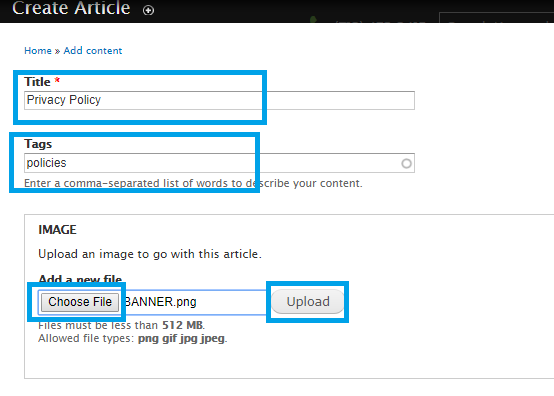
4. The following page will say “Create [content type]” at the top. You’ll then be able to fill in your new page title, and articles will give you the option of adding tags and even an image. To add an image, simply click on “Choose” under “Add a new file”, then find the image through your computer files and click “Upload”.
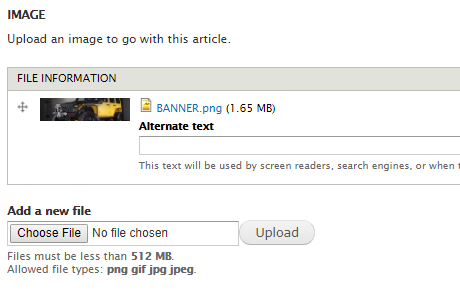
Once the image finishes uploading, you’ll see it pop up in a tiny preview area. You’ll also notice under the new image, there will be an option to add more images if you’d like. Remember, any images added here will be displayed at the top of your article page, most likely in a collage format, and not wrapped within your text.
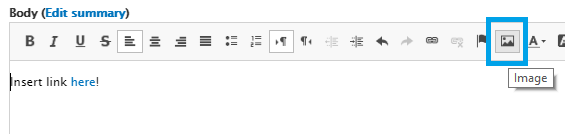
5. The next “Body” field is where you’ll be placing the text for your article or basic page. This area is awesome! You can add text, and you have many different formatting features just like in any text editor. You’ll see in the toolbar, besides from the obvious underline, bold, alignment, font style, etc., there are a few more options that aren’t as obvious but are very useful.
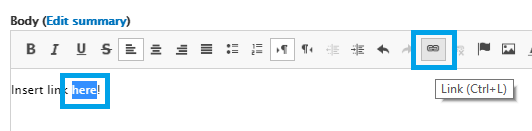
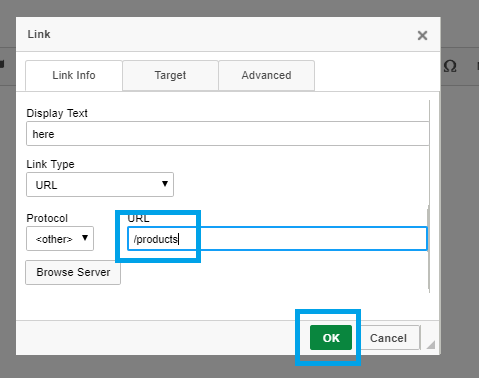
a. If you need to insert a link, simply highlight the piece of text you want linked, then select the icon in the toolbar that looks like a chain link.
In the Link popup that comes up, you can either paste the link for an outside site if you’re referencing something else, or if it’s going to a page on your site simply type in the page extension like shown in the image below, then click “OK”.
b. If you need to insert an image within your text, simply click on the image icon in the toolbar.
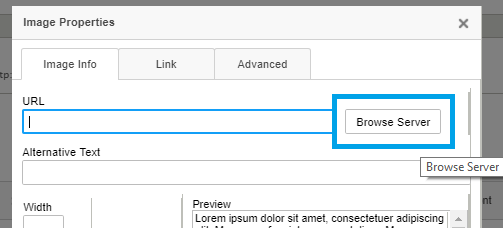
In the “Image Properties” popup click on “Browse Server”.
Now click on “Upload” in the upper left-hand corner of the pop up window. You’ll then get to choose the image file, then click on the lower “Upload”. Once you have, simply hit the enter key on your keyboard.

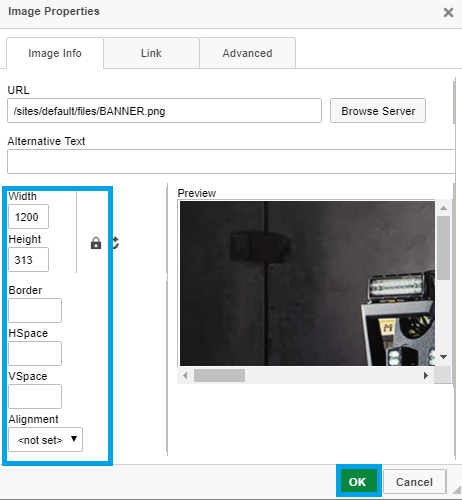
At this point you’ll be back to the initial “Image Properties popup, and your image will be displayed in the preview pane. You’ll notice to the left you’ll have the option to change the size, add a border, or even spacing around your image. You can experiment with these values since they vary depending on what you’re looking for. When you’re finished adjusting the image through this popup click on “OK’.
If you aren’t pleased with the changed image properties, simply right click the image and click on “Image Properties” once again. :)
6. Now scroll to the bottom of the page, and click on “Save”. That’s all there is to it! If you want to add a link to this page in one your menus, or find the link extension for another purpose you can either copy the extension from your address bar or you can find the link by going through your admin menu in “Configuration” -> “Search & Metadata” -> “URL aliases”. There are more detailed instruction for this kind of linking in another tutorial for Working with Menus.