Managing Coupons and Discounts
The main difference between the two is that coupons are only applied using some kind of code, discounts can be added to a product or an entire order and are automatically applied by the system. Here we’ll go over how to add either of those to your sites store.
1. Discounts and coupons are both added the same way, except coupons have additional steps. In this tutorial, we will be using the word “specials” for clarity in place of discount or coupon until the extra coupon steps come in to play.
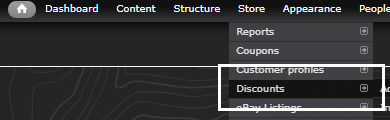
2. To get to your specials, in your admin menu go through “Store” -> “Discounts”.
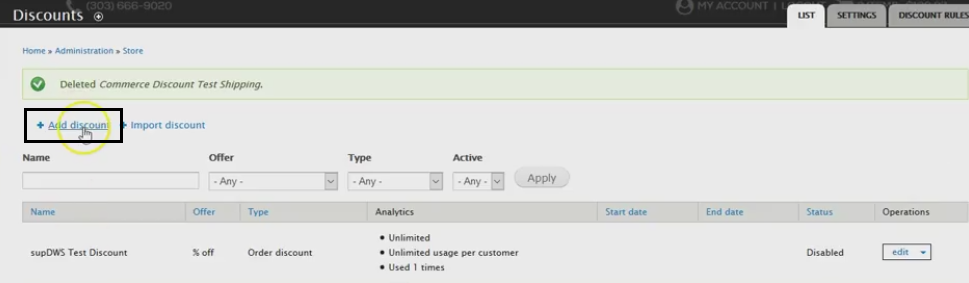
a. On the following page, you’ll see a list of all your current specials. This is where you can delete any if you need to, or add any discount or coupon.
3. To create a new special, at the top of the page click on “Add discount”:
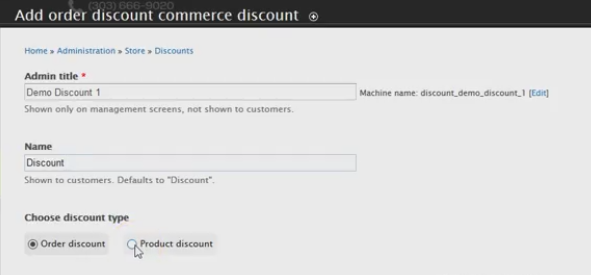
4. On the next screen, “Admin title” will be the title you see on the back end, while “Name” is the special name the customer sees. The discount type decides if the special is applied to an entire order, or just a product type. With product type you will be able to distinguish if you want certain products, categories, etc.
5. If you select the dropdown under the “APPLY TO” section, you’ll be able to choose for whichever discount type you chose, the appropriate attribute. So for “Order discount” you’ll be able to choose if the special is applied to All, Users, Products, Products of a certain quantity, Address (If for example you want only certain cities), Shipping services, and Total order weights.
6. Choose the one you want the special to apply to, and you’ll see under the “SETTINGS” column, a textfield will pop up with a loading circle to the far right of it. You’ll see the settings will look a tad different for each application. Each one will have a description of each settings so no worries. When you start typing, you’ll see suggestions pop-up, and when they do, select the suggestion to avoid any matching errors.

a. For products, you can search the product by either the name or the SKU.
7. To the far right, you’ll see a negate option. This will invert whatever you’re applying the special to. So for example, if you select negate after applying to one user, that means that everyone except that user will be able to use that special.
8. You’ll also see under the application options, you can add “AND” and “OR” conditions. So for example, if you want to apply the special to one user, and for one product, you’ll be able to do that here.
9. “CHOOSE TYPE OFFER” is where you set the actual special amount and distinction. Here you can choose if you want it for a dollar amount, percentage, only on shipping, etc.:

10. If you scroll down, you’ll see a section where you can set specs for your special:
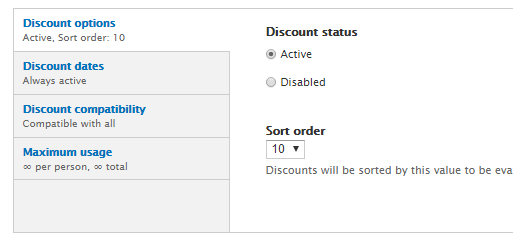
a. Discount options: You can set the status of the special, if it’s active or not.
b. Discount dates: If you want the special active for a certain of time. So for example, if it’s a holiday special, or if you’re just looking to get rid of some extra stuff for a period of time. :)
c. Discount compatibility: Here you can choose if the special will be compatible with others, or only some, all, et
d. Maximum usage: if the special can only be used a certain amount of times per customer, or even in total. So if the coupon is a first come first serve thing you can set the overall usage to 20 or however many times you want it.
11. If this is a discount, here is when you click “Save discount” at the bottom and you’re all done. If this is going to be a coupon, click on “Add new coupon”. You’ll then see more options appear below:
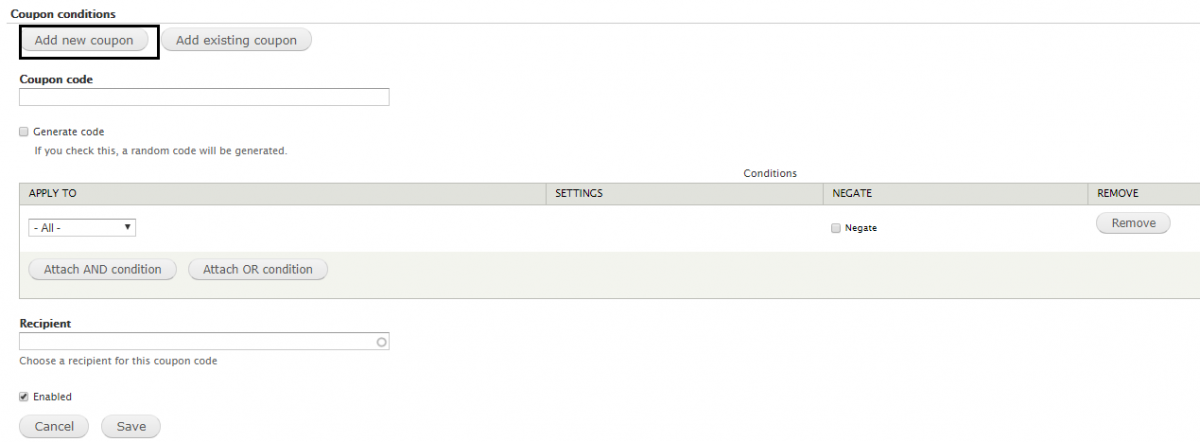
a. This is where you can make a code for it. DO NOT check Generate code; this will auto-generate one for you but you won’t be able to see what it is.
b. The conditions you see here, refer to the ability to use the coupon. So the date range or max usage conditions of the coupon.
c. We have never before needed to use the recipient field. We believe it sends an email about the coupon to whomever is in this field. Let us know if you have any questions on this field.
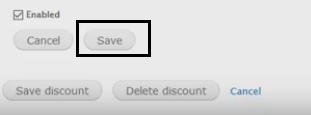
d. You’ll want to make sure the Enabled box is checked, then save the coupon first. This save is directly under the Enabled section.
e. At this point, after clicking “Save” for the coupon, you’ll see the coupon will create it’s own official area in a box with a column for the code, then to the right there will be options to edit or remove it. Now you’ll click “Save discount” at the very bottom of the page.

12. To delete a special, find the item in the list, and to the right click on the edit option. This will take you to the screen where you can manage, change, and even delete your item. When you scroll down to the bottom, you’ll see a “Delete discount” button.